
The Ultimate Kitchen Remodel Checklist: A Step-by-Step Guide
Embarking on a kitchen remodel can be an exciting yet daunting task. With so many details to consider, from budgeting to design choices, it’s easy to feel overwhelmed. That’s why having a comprehensive kitchen remodel checklist is essential. This guide will walk you through every step of the process, ensuring that your renovation stays on track and meets your expectations. Whether you’re updating a few key elements or doing a complete overhaul, this checklist will help you navigate your kitchen remodel with confidence.
Stage 1: Planning Checklist
Define Your Goals and Budget
- Determine the Scope: Are you doing a full remodel or just updating specific elements? Clearly define what you want to achieve.
- Set a Realistic Budget: Research the average costs for your planned changes and add a 10-15% buffer for unexpected expenses.
- Consider ROI: Focus on upgrades that will provide the best return on investment, such as energy-efficient appliances and durable materials.
Create a Detailed Design Plan
- Layout Planning: Optimize your kitchen layout, considering the kitchen triangle (sink, stove, refrigerator) for efficient workflow.
- Style and Aesthetics: Choose a cohesive style that complements your home, including cabinets, countertops, flooring, and lighting.
- Storage Solutions: Plan for smart storage, like pull-out shelves, lazy Susans, and a well-organized pantry.
Material and Finish Selections
- Cabinets: Choose high-quality materials that are durable and aesthetically pleasing.
- Countertops: Select countertops that balance beauty and functionality; granite, quartz, and butcher block are popular choices.
- Flooring: Opt for flooring that is both durable and easy to clean, such as tile, hardwood, or luxury vinyl plank (LVP).
- Appliances: Research and choose energy-efficient appliances that match your kitchen’s style and functional needs.
Final Steps in Planning
- Timeline Estimation: Create a rough timeline for your project, factoring in lead times for materials and the potential for delays.
- Permits: Research local regulations to determine if any permits are required for your remodel. Make sure these are secured before work begins.
Stage 2: Vetting and Hiring Contractors
Choosing the Right Professionals
- Research and Referrals: Ask for recommendations from friends, family, or neighbors who have had similar work done. Check online reviews and ratings.
- Get Multiple Quotes: Obtain at least three quotes from different contractors. Compare not just the cost, but also the scope of work each contractor is proposing.
- Check Credentials: Ensure your contractor is licensed, insured, and bonded. Verify their experience with kitchen remodels similar to yours.
Interviewing Contractors
- Ask About Experience: How many kitchen remodels have they completed? Do they have a portfolio of past work?
- Understand the Process: Ask how they handle unexpected issues, manage timelines, and communicate progress.
- Discuss Subcontractors: Inquire if they will be using subcontractors for parts of the job, and if so, how they ensure quality and timelines.
- Review Contracts: Ensure the contract clearly outlines the scope of work, payment schedule, timeline, and any contingencies for delays.
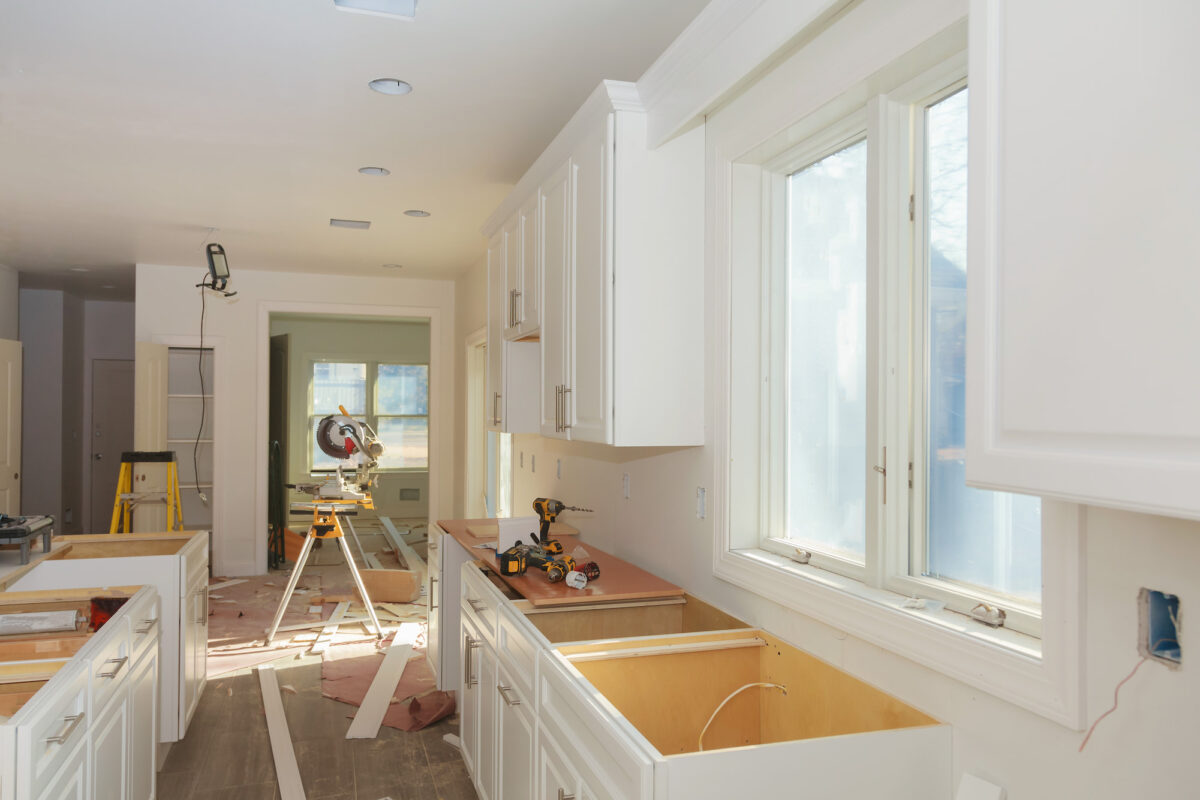
Stage 3: Work Begins – Homeowner Checklist
Tracking Costs and Progress
- Cost Monitoring: Keep a detailed record of all expenses, including materials, labor, and any unforeseen costs. Compare them against your budget regularly.
- Daily Logs: Maintain a daily log of work done, hours worked, and materials used. This can help in tracking progress and addressing any discrepancies.
Communication with Contractors
- Regular Touchpoints: Schedule regular check-ins with your contractor, whether daily or weekly, to discuss progress, any issues, and upcoming work.
- Change Orders: Any changes to the original plan should be documented in a change order form and signed by both parties.
Site Inspections
- Work Quality: Periodically inspect the work to ensure it meets your expectations. Don’t hesitate to raise concerns as they arise.
- Safety: Ensure the worksite is safe for both workers and your family, especially if you’re living at home during the renovation.
Stage 4: Finished Work – Final Checklist
Final Inspection
- Quality Check: Walk through the kitchen with your contractor to inspect all aspects of the work. Check that all appliances, fixtures, and finishes are installed correctly and work as expected.
- Punch List: Identify any minor issues that need to be addressed. Document them in a punch list and ensure your contractor commits to fixing them within a set timeframe.
Questions to Ask
- Have All Permits Been Closed?: Confirm that any required permits have been finalized and signed off by local inspectors.
- Is the Worksite Clean?: Ensure the contractor has cleaned up the site thoroughly, removing all debris, tools, and materials.
- Warranties and Guarantees: Ask for all relevant warranties on work performed and materials used. Ensure you understand the terms and conditions.
- Final Payments: Only make the final payment once all work has been completed to your satisfaction, and all items on the punch list have been addressed.
Celebrate and Reflect
- Does the Kitchen Meet Your Expectations?: Reflect on whether the remodel has met your goals in terms of functionality, aesthetics, and budget.
- Would You Recommend the Contractor?: Consider the overall experience with your contractor—would you recommend them to others?
A successful kitchen remodel requires careful planning, a clear vision, and the right team of professionals.
By following this kitchen remodel checklist, you can navigate the process with confidence, ensuring that your project is completed on time, within budget, and to your exact specifications. Remember, the key to a stress-free remodel is preparation—so take your time during the planning stages, and don’t hesitate to seek professional help when needed. Your dream kitchen is within reach!